How to Use a Drum Sander
How-To
Sanding is essential for a perfect finish on a new timber floor, and it’s a great way to give an older floor a bit of a facelift and get it looking new again.
To get the best finish on a timber floor, you need to make sure you’re using the right equipment - there are a number of different types of floor sanders out there and they all have slightly different purposes.
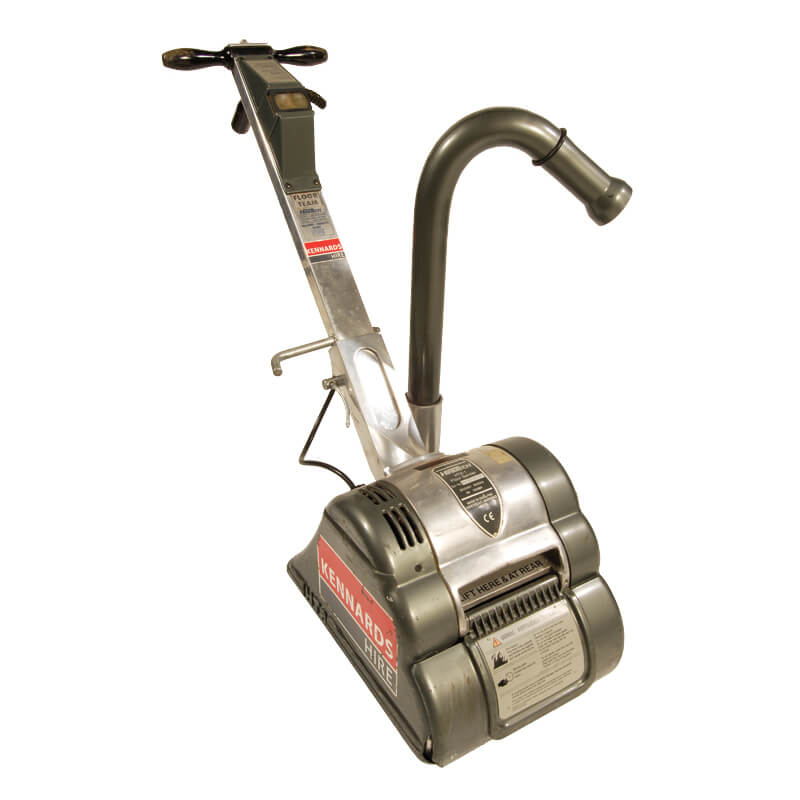
Here’s a quick guide to the floor sander, also known as a drum sander.
Steps
Assembling the drum sander
- Place the handle back into the receiver (it should just slide in)
- Tighten up the clamp on the right hand side. It’s important that this is really tight – you don’t want it to come loose once you turn the sander on and it starts vibrating.
- Insert the power cord and twist to lock.
- Slot the dust extraction tube into the hole on the left of the handle.
- Take your dust bag and attach it to the dust extraction tube by placing the bag over the open end, wrapping it around and then rolling the rubber ring down to make it secure.
Once it’s assembled, you’ll need to install the sandpaper on to the rotating drum. It’s always a good idea to wear protective gloves for this stage, just to be on the safe side.
Installing the Sandpaper
- Tilt the machine back.
- Lift the front guard.
- Tuck one end of the sandpaper under the metal plate.
- Push the metal plate down and tighten the screws to hold the sandpaper in place.
- Wrap the sandpaper around the drum.
- Loosen off the screws again and tuck the other end of the sandpaper underneath – make sure it’s as smooth and tight as possible.
- Tighten the screws again and you’re all ready to go!
Tip: The dust bag swivels around so you can move it out of the way when you’re sanding against a wall. Just make sure it doesn’t tear!
Kennards Hire has the experience and know how to help you with your next project. Get in touch with your local branch today.


